


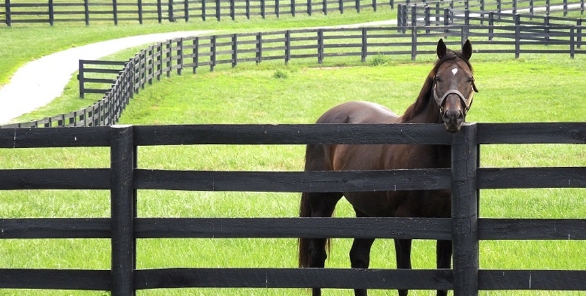
Horse Arena Fence Height Guide: How Tall Should a Riding Area Fence Be?
When designing a horse arena, most owners focus on footing, drainage, and layout. Fence height…
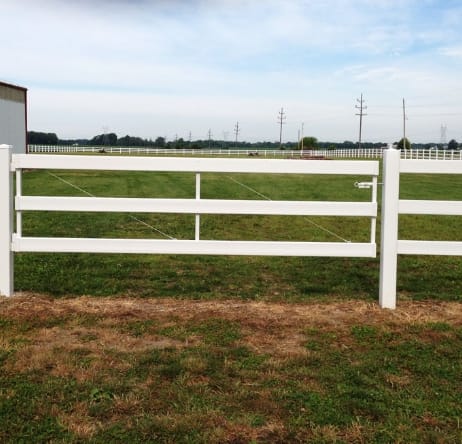
Derby Fence - The Ultimate Fencing Solution for Any Climate
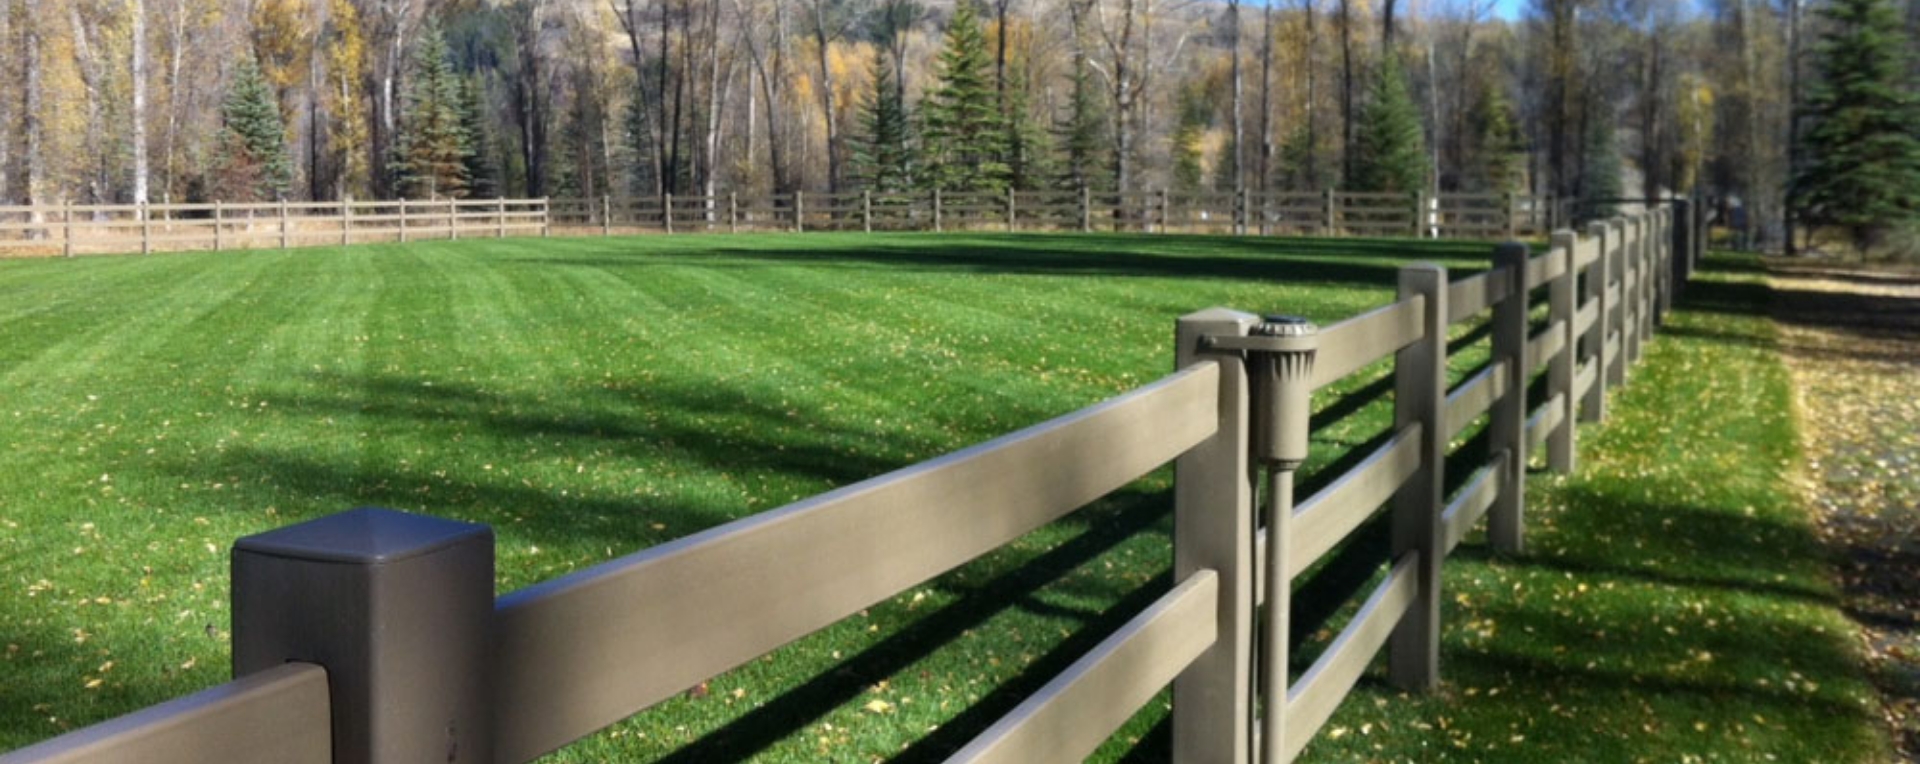
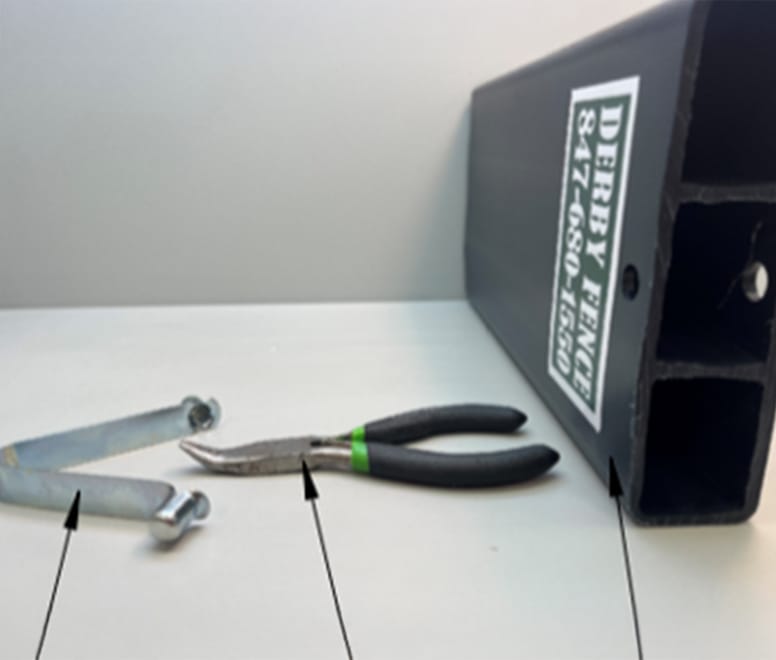
Derby Fence is made for quick and easy installation with very few tools required! Follow our fence installation instructions for a smooth, secure, and professional-looking setup from start to finish.
Thank you for purchasing your Derby Fence. Before starting your installation, be sure to check local codes and permit requirements. Also, contact your local utility companies to check for underground utilities, such as electrical, plumbing, or cable.
Derby Fence does not do installation. However, we are happy to be a resource for installers throughout the process and help troubleshoot any installation questions. Please contact Derby Fence for any additional installation instructions.


| ITEM NUMBER | DESCRIPTION |
|---|---|
| 1 | FENCE POST |
| 2 | 16 FT RAIL |
| 3 | 8 FT RAIL |
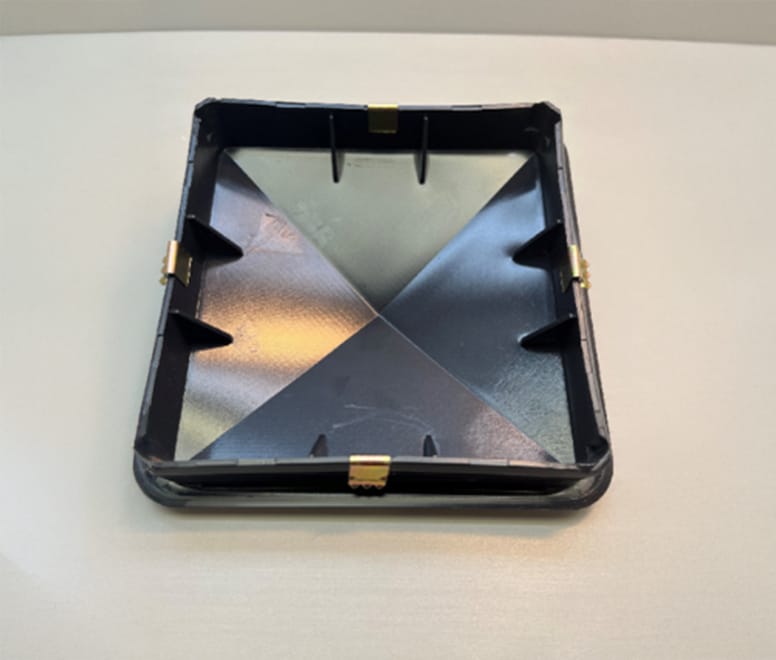
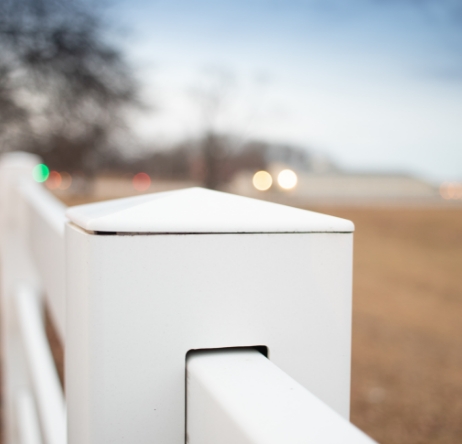
| 4 | POST CAP |
| 5 | CAP CLIPS |
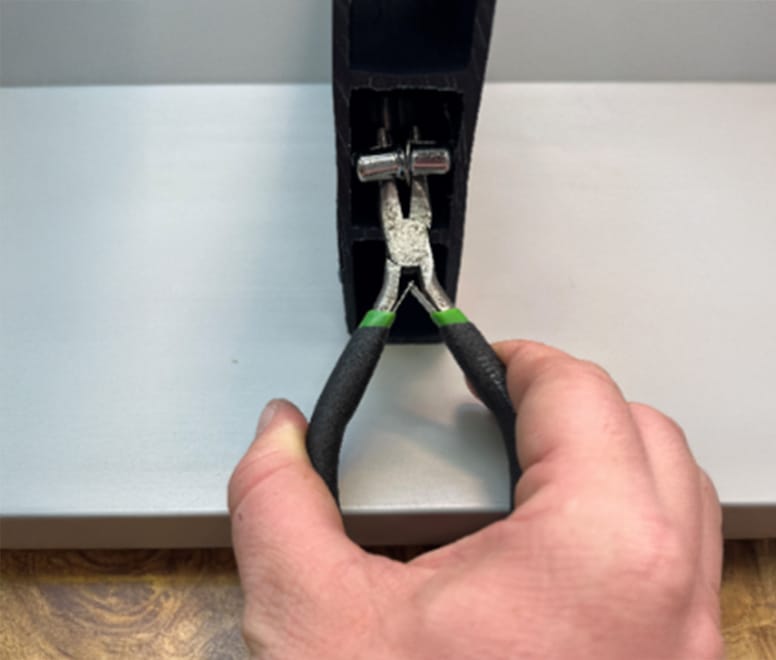
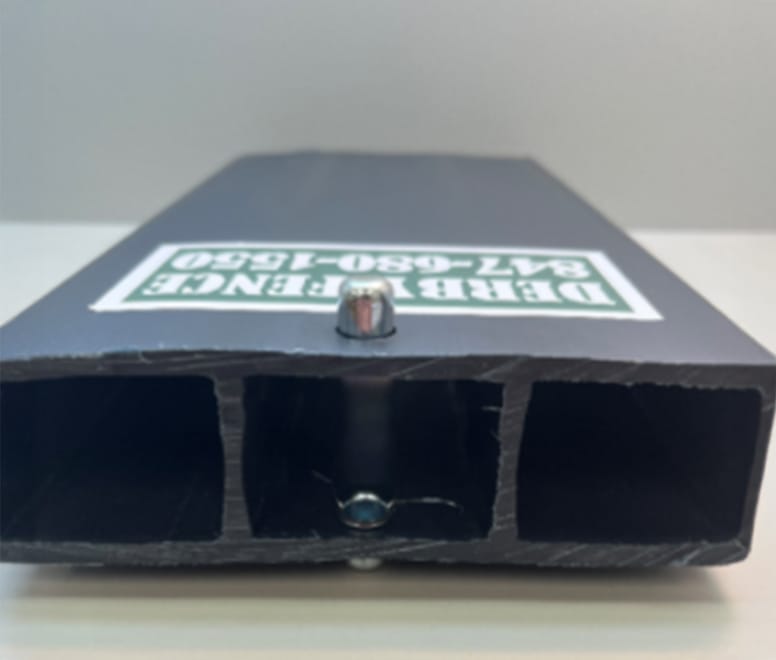
| 6 | SPRING BUTTON CLIPS |
| ITEM NUMBER | DESCRIPTION |
|---|---|
| 1 | FENCE POST |
| 2 | 16 FT RAIL |
| 3 | 8 FT RAIL |
| 4 | POST CAP |
| 5 | CAP CLIPS |
| 6 | SPRING BUTTON CLIPS |
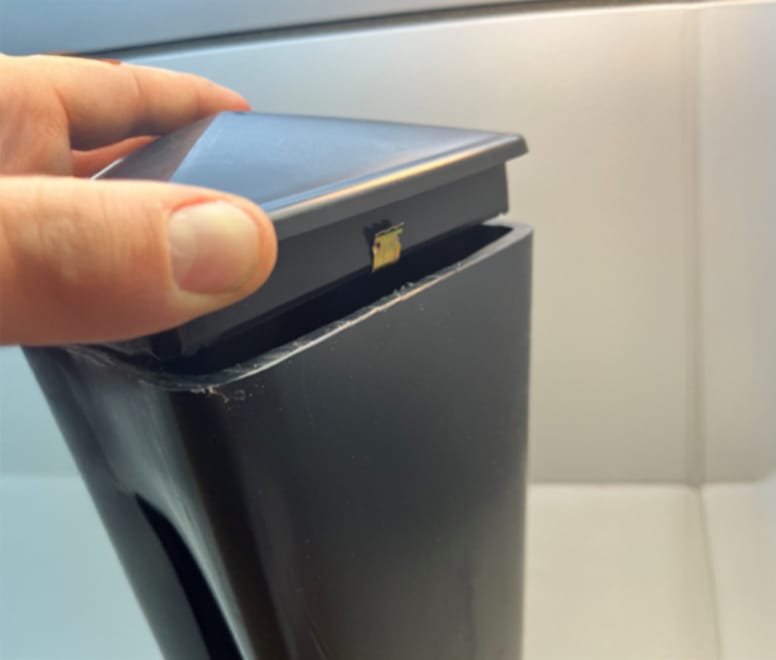
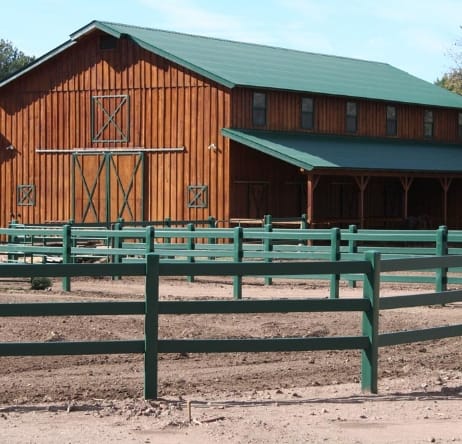
With the darker colors, during the heat of the day you can expect to see an 8’ rail bow out around 1” to 2”, however, it will return again once the sun has shifted away from direct exposure. This is a natural movement inherent in the plastic material and will not affect the performance of a properly installed fence. A 16’ rail will not be as severe due to being contained in the center post.
We recommend, for the 8’ rail sections, that you insert a 3⁄4” thick wall conduit or rip with the grain a 3/4” plank to 1” wide strips and or a 1” galvanized electrical conduit to accomplish the same task if that deflection is a visual concern.
Occasionally, you might have posts centered either smaller or larger than the standard lengths due to the property layout. In such cases, you would need to cut the rail length 1/2″ shorter than the center-to-center distance to compensate for expansion and drill two 7/16″ holes through the rail to insert the spring button clip.


When designing a horse arena, most owners focus on footing, drainage, and layout. Fence height…

When it comes to outdoor fencing, constant sun exposure can take a serious toll. Over…

When it comes to outdoor fencing, weather can be your biggest challenge. From blistering summer…
Call us today at 1.847.680.1550 or use the email contact form below to request information or get a quote from Derby Fence. All fields must be filled in to submit form. Please include your address if you would like more information mailed to you. We look forward to working with you!